
Recipe Collections


Trending Now


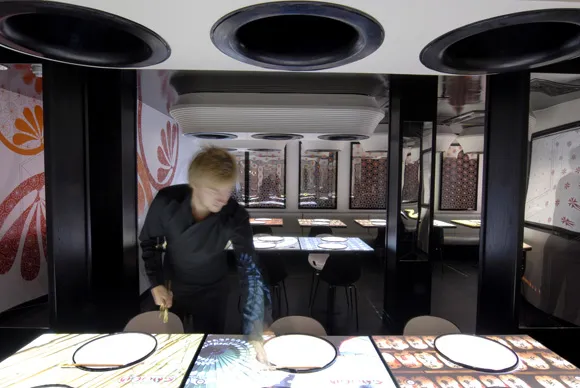
J’aime Paris
Travel with me


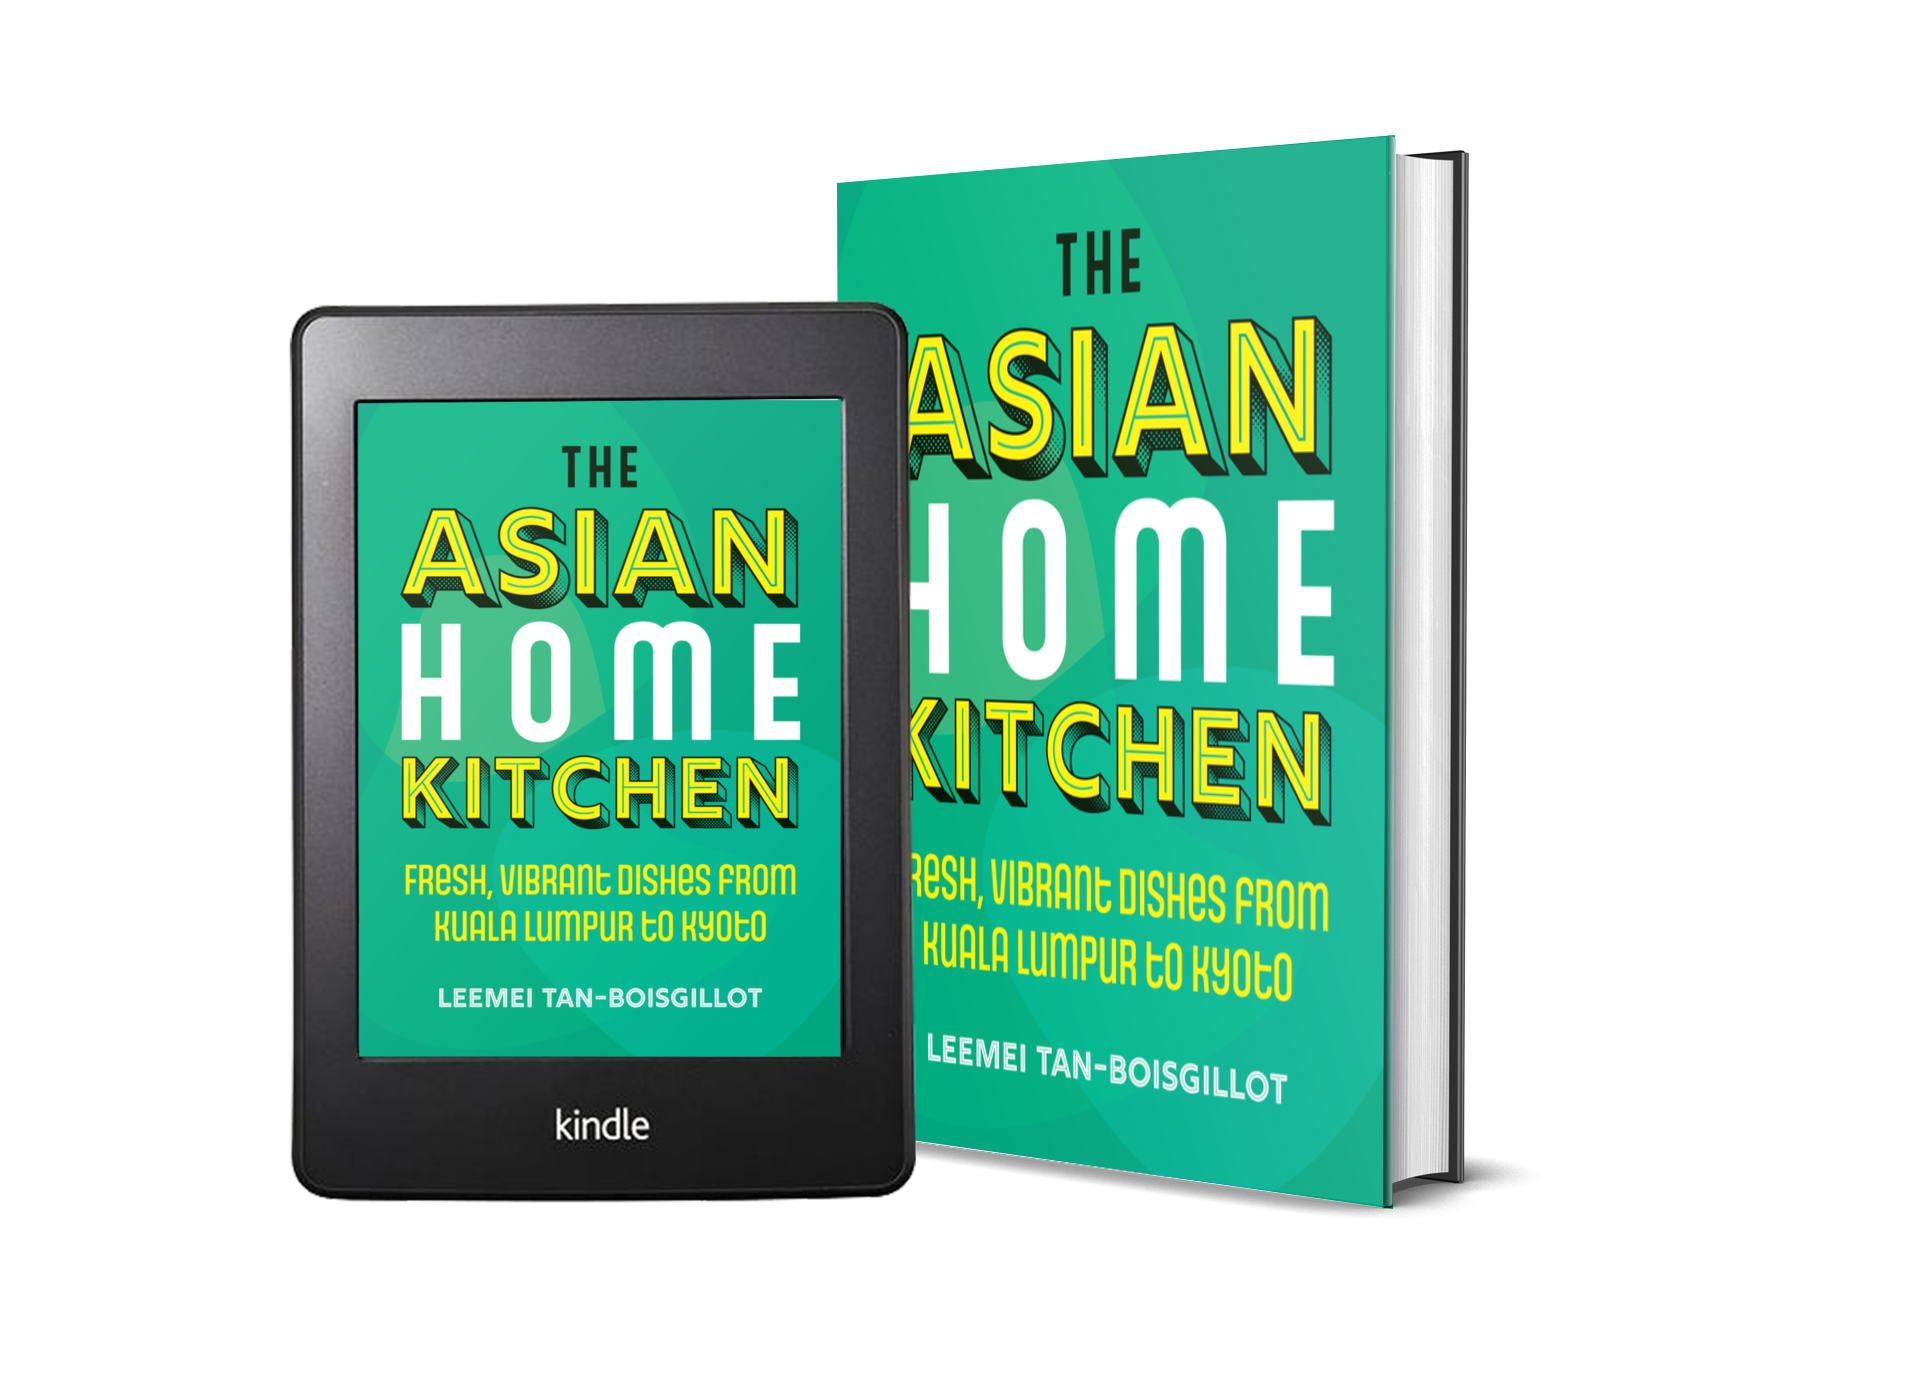
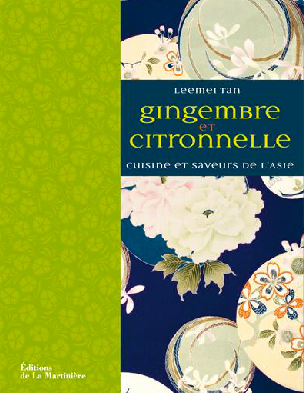
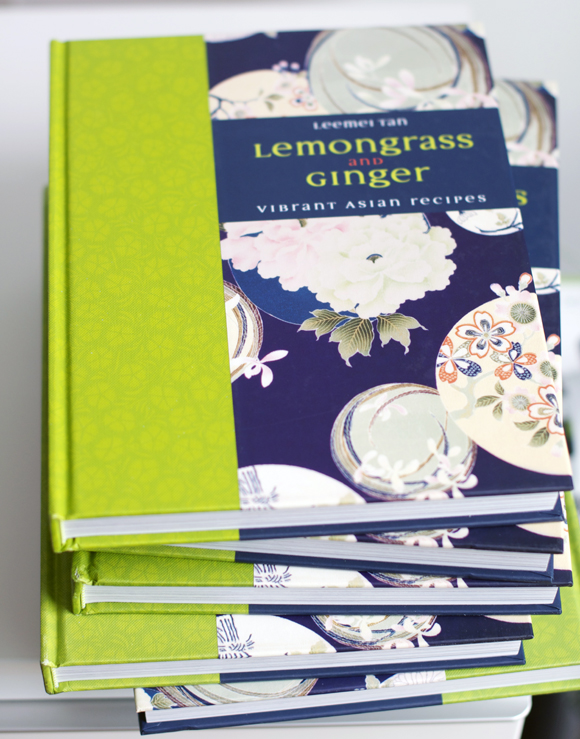
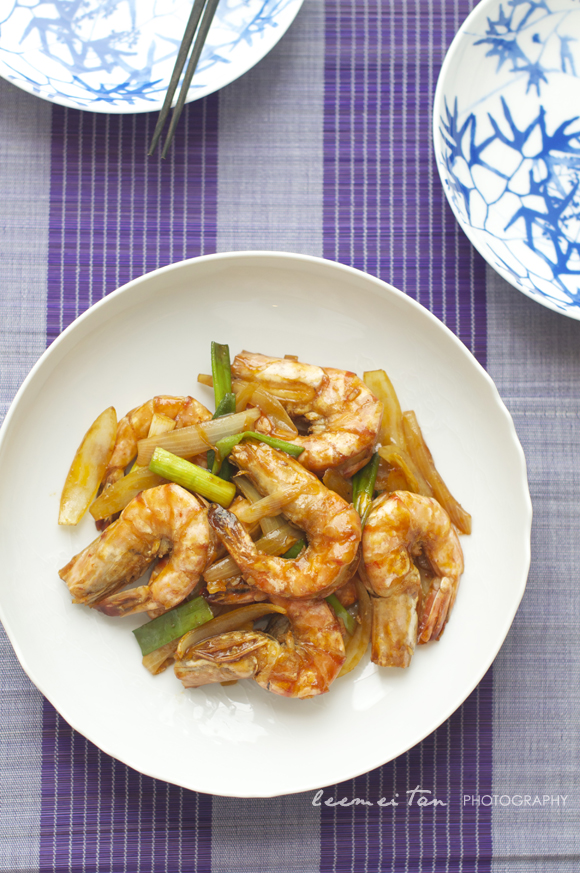
An award-winning collection of over 110 modern and delectable recipes from across Asia
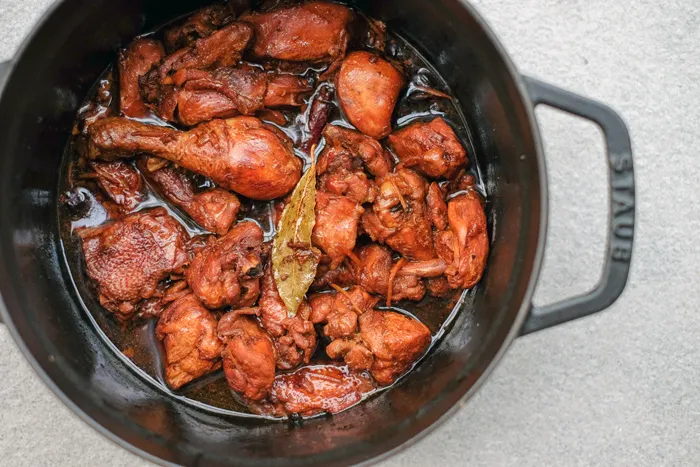
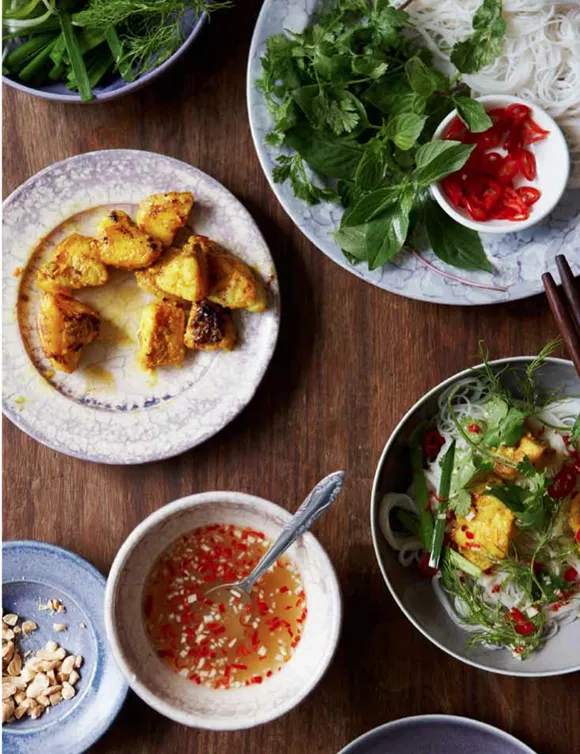
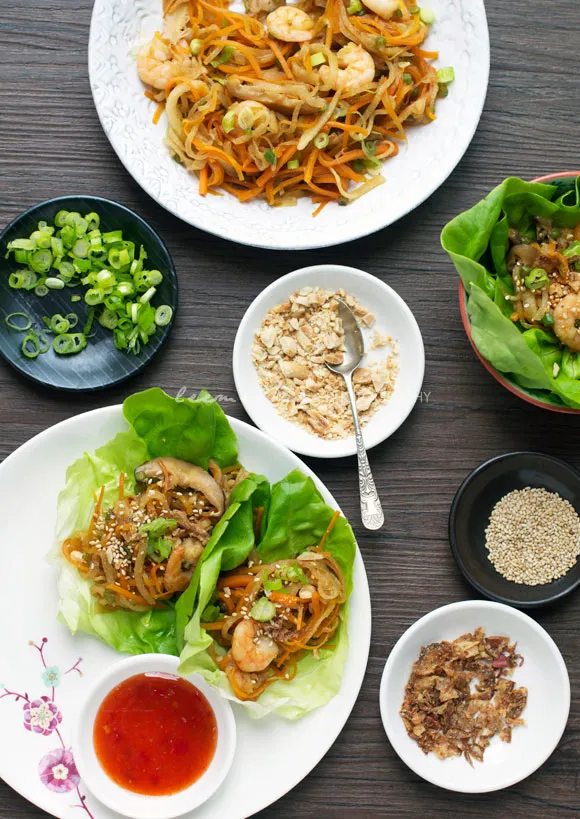
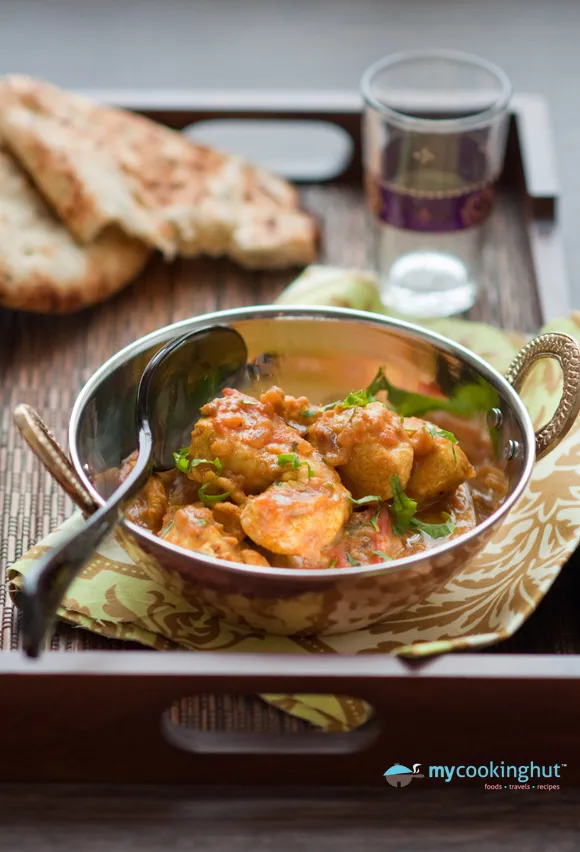
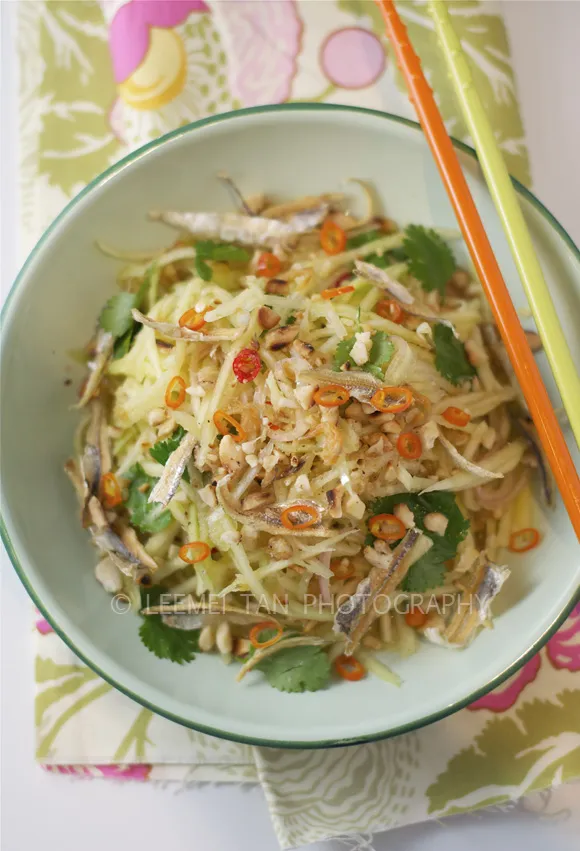
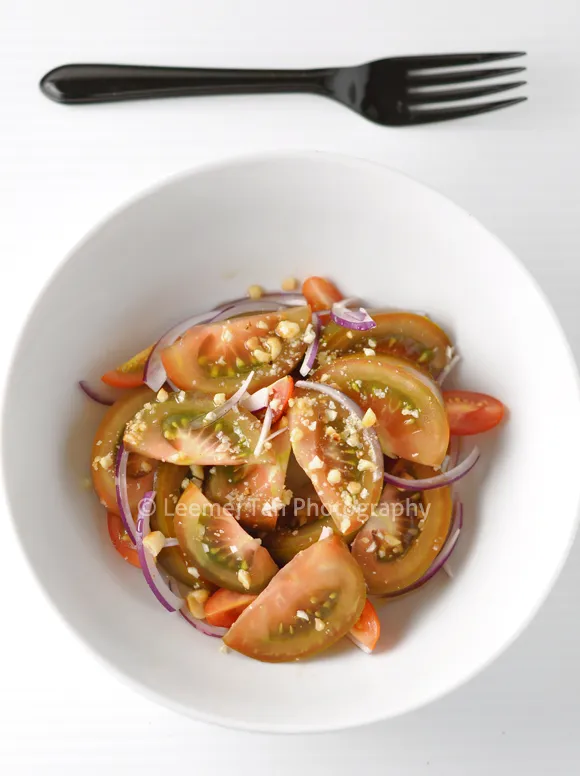
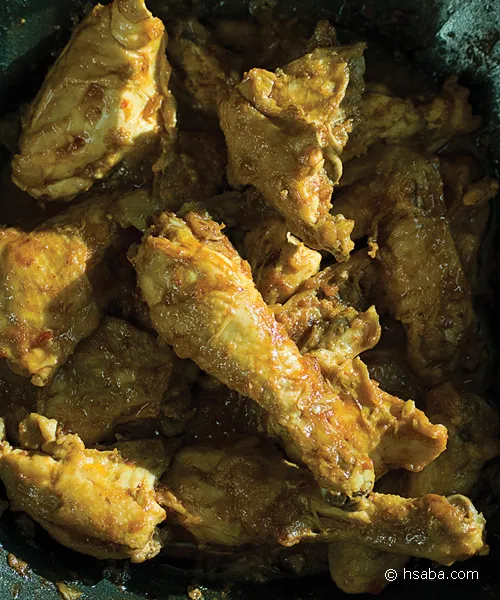
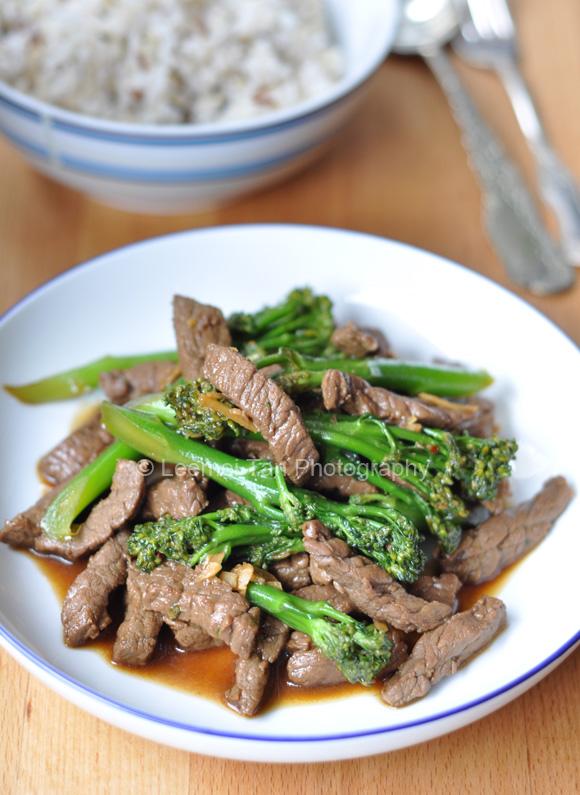
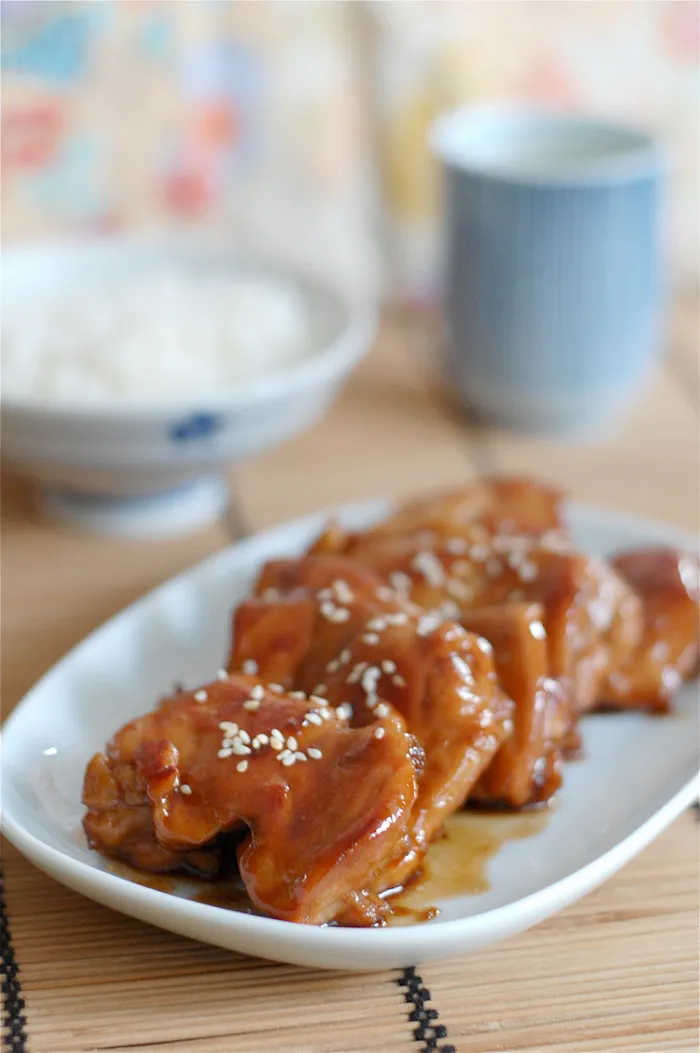
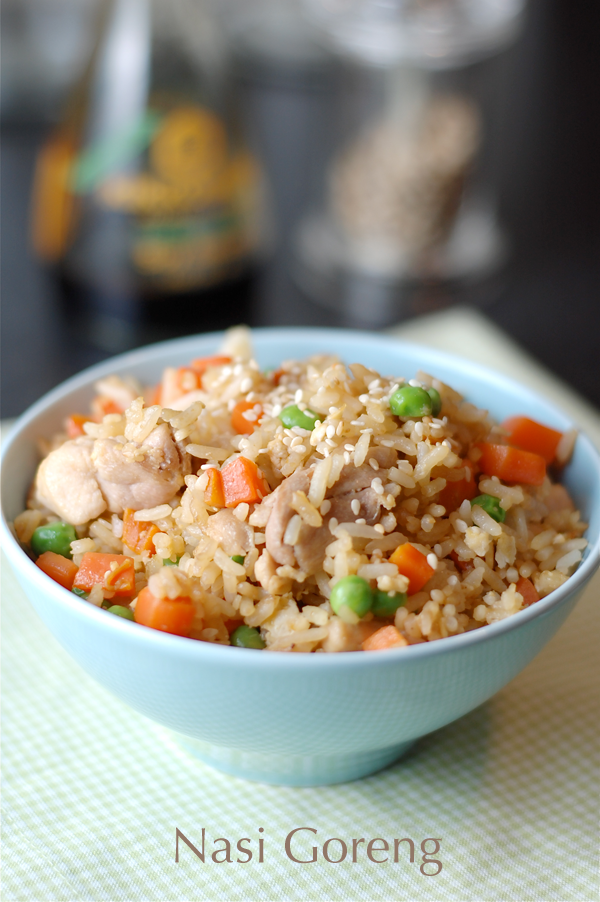
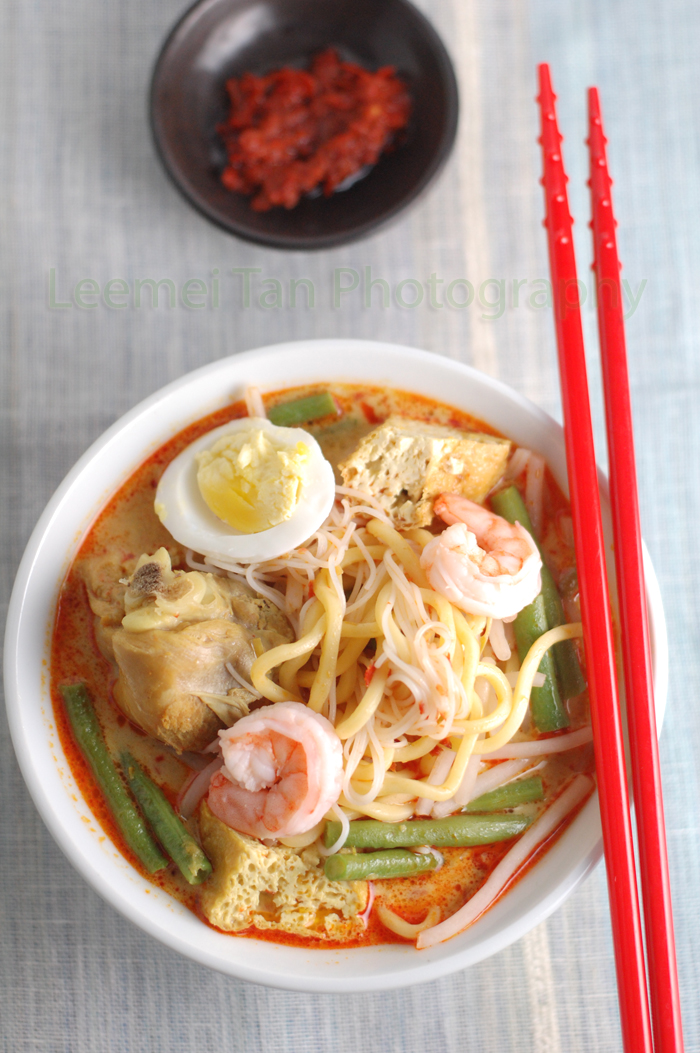
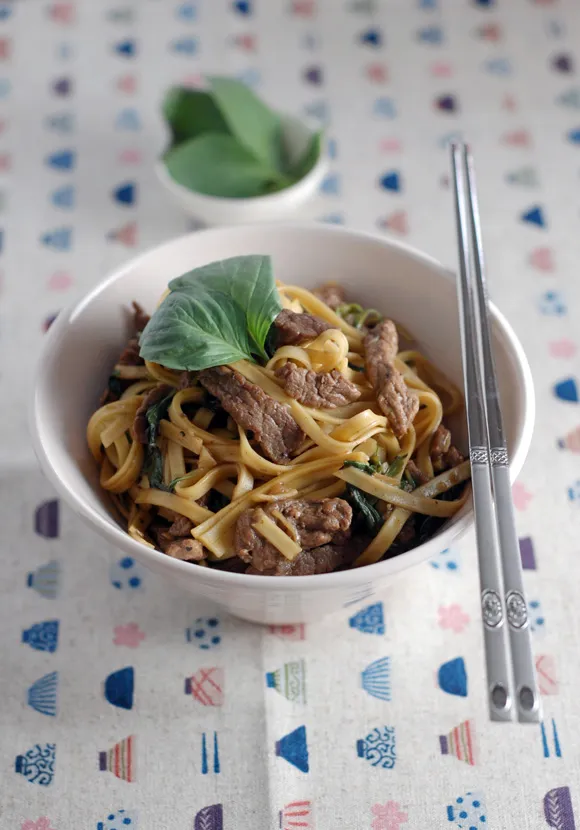
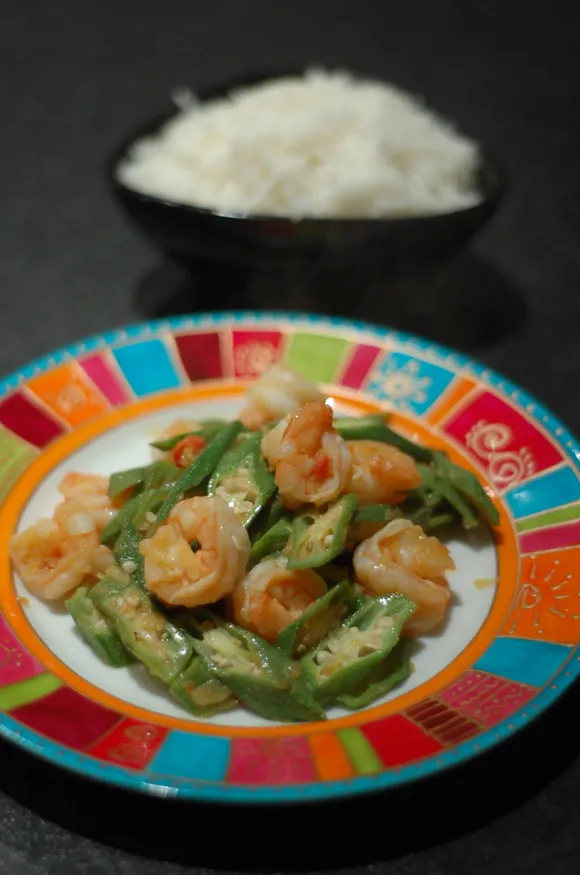
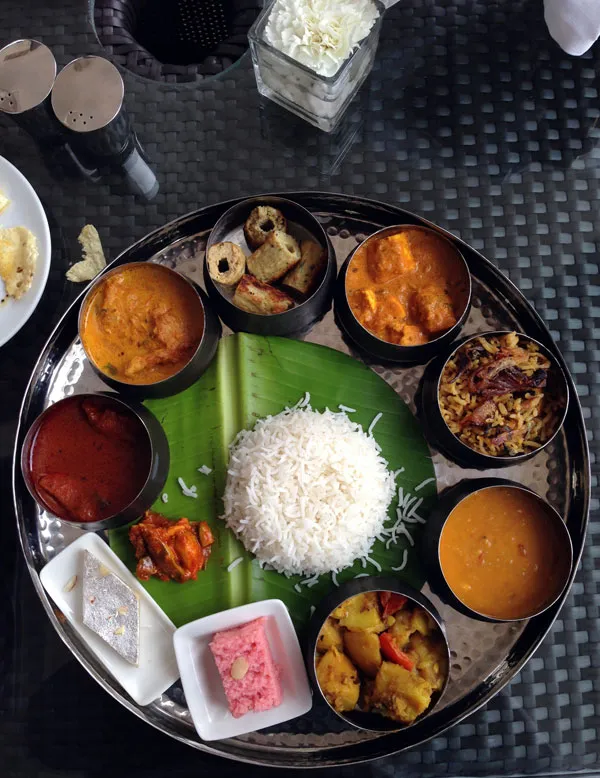
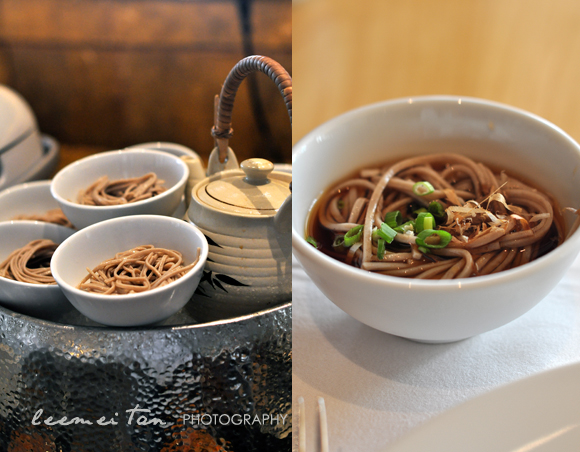
Whether you fancy Korean fried chicken, a warming bibimbap, spicy dan dan noodles, a hearty rendang, a zingy papaya salad, banh mi on-the-go, or satisfying masala dosa, The Asian Home Kitchen has a quick, easy and delicious recipe for every craving.
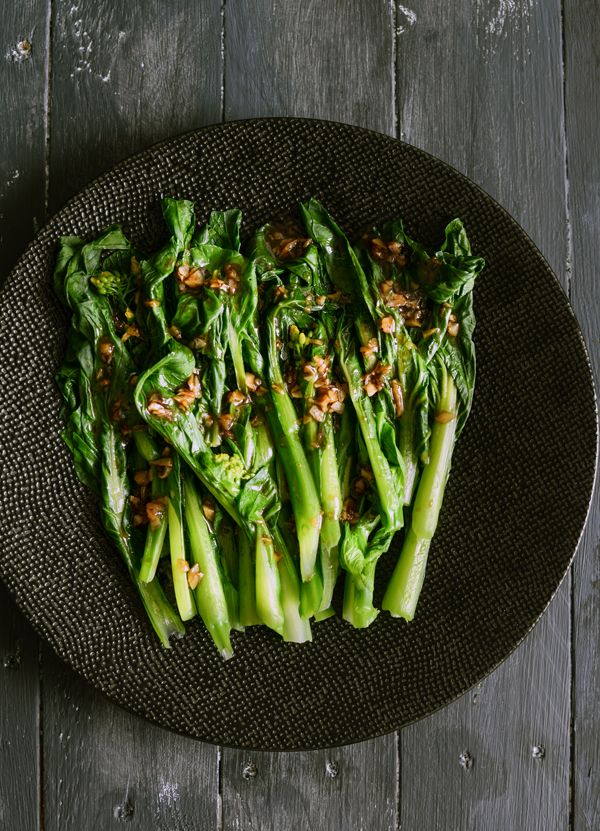
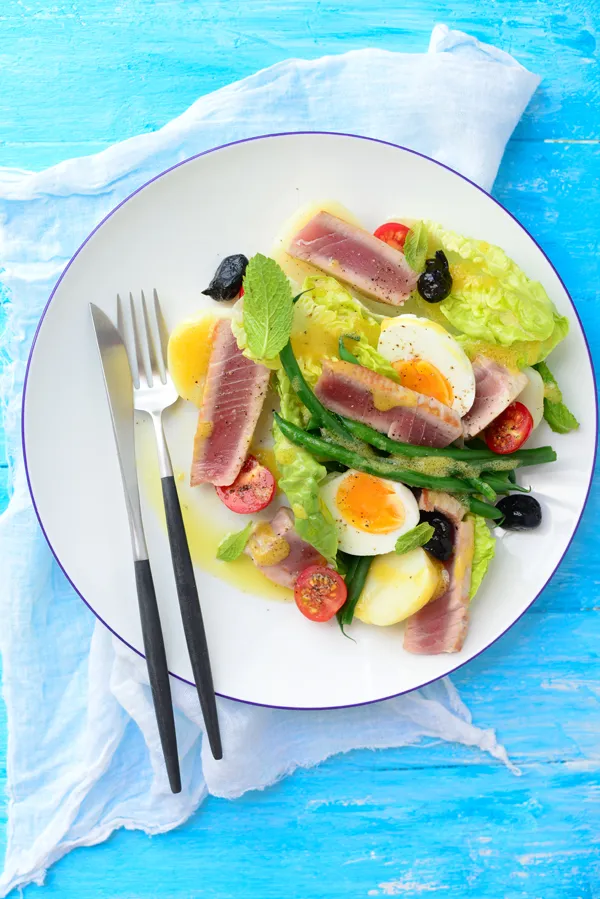
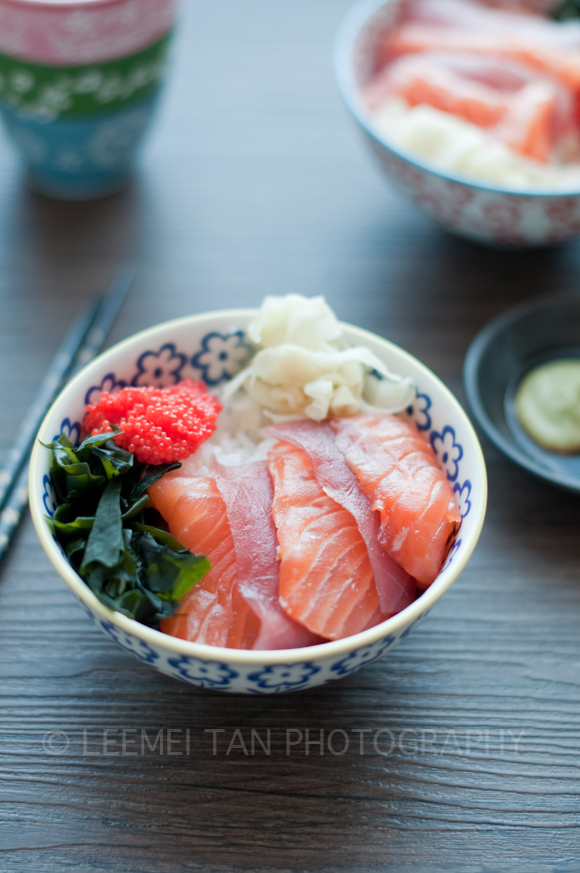
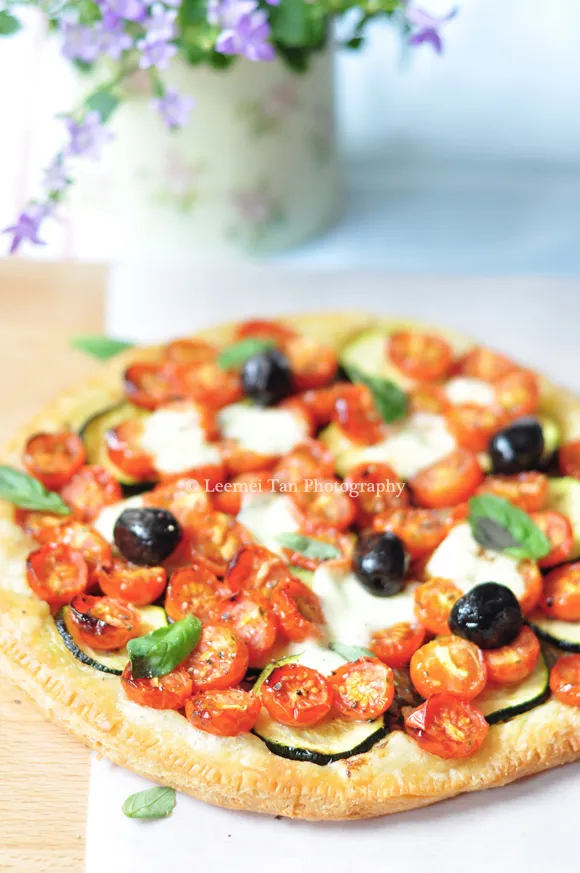
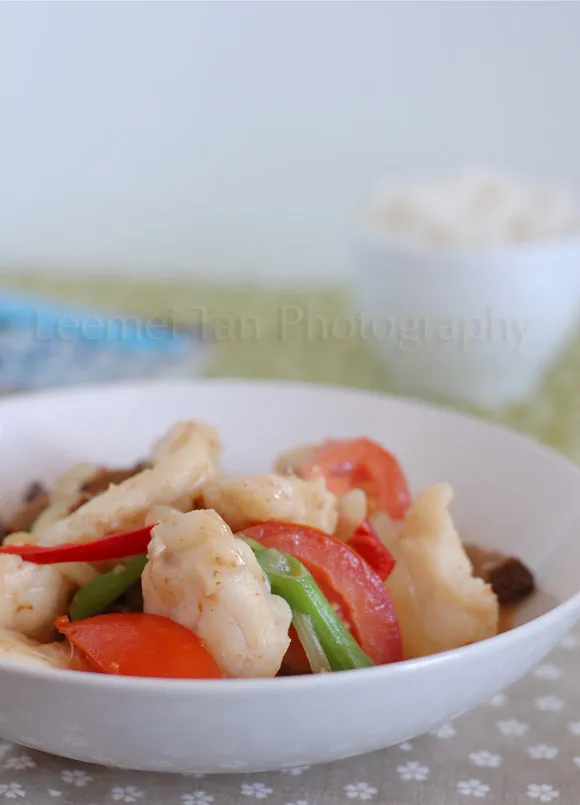
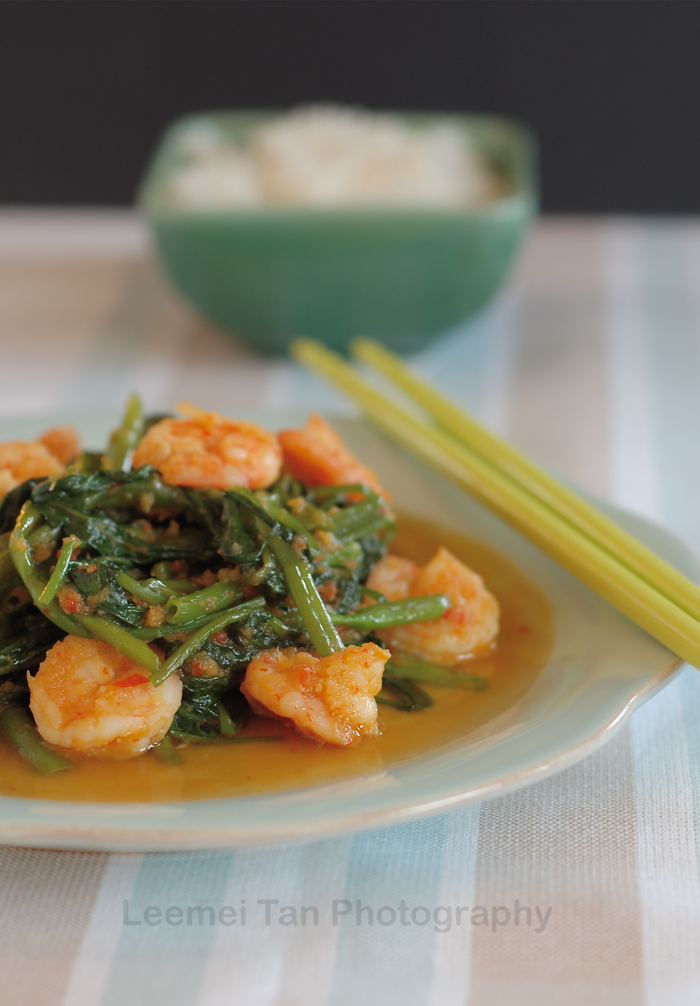
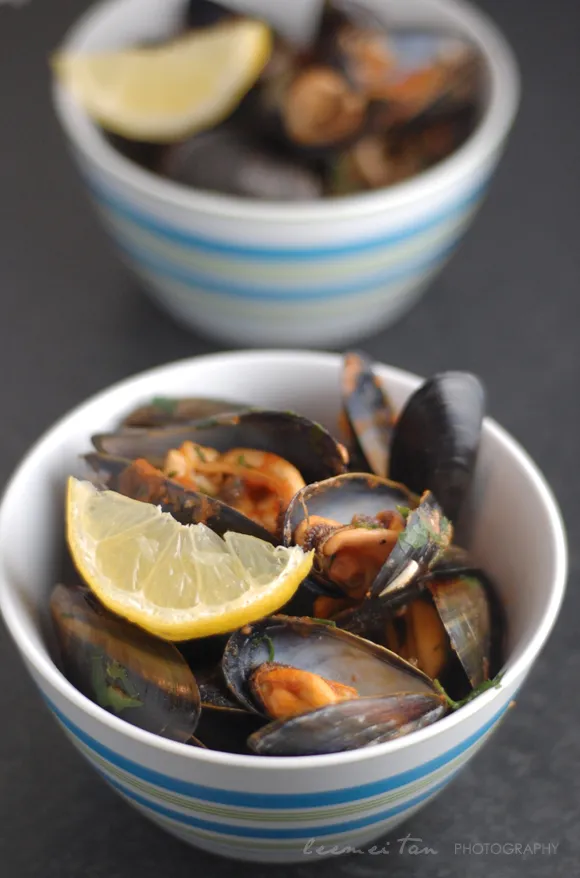
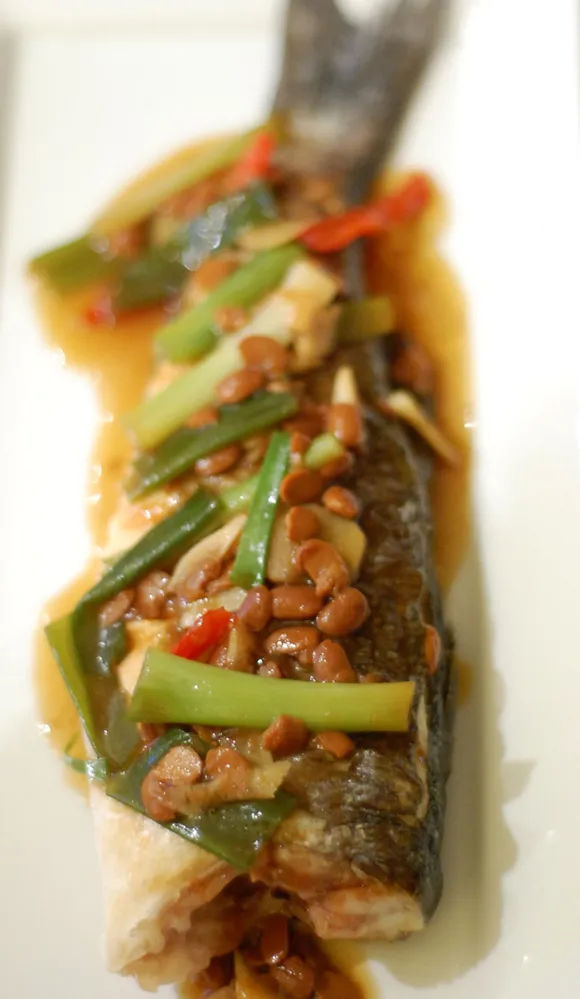
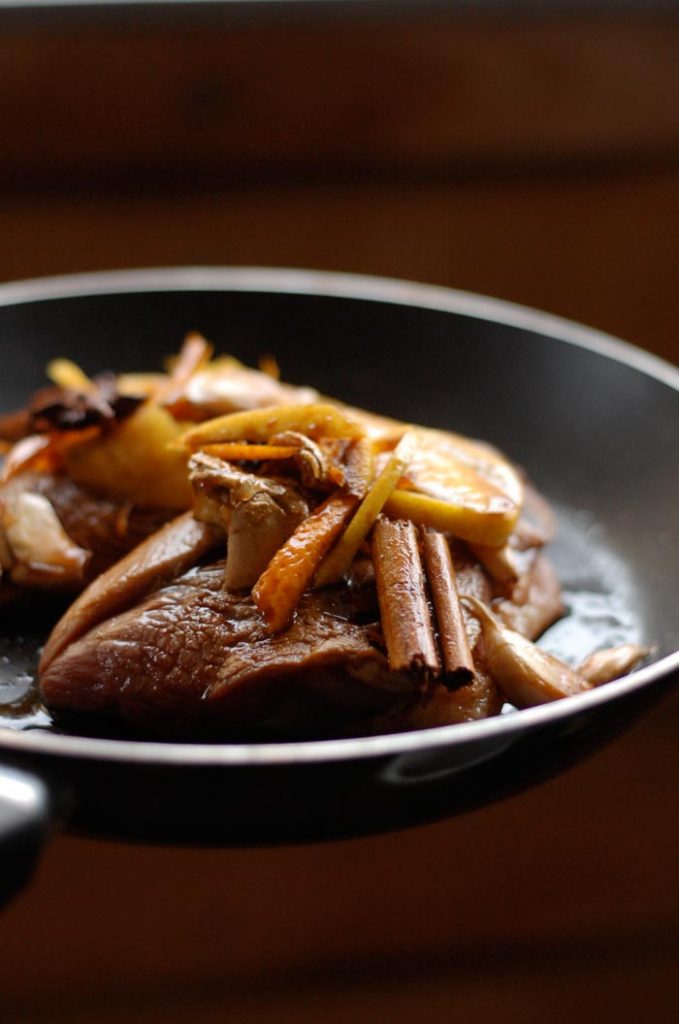
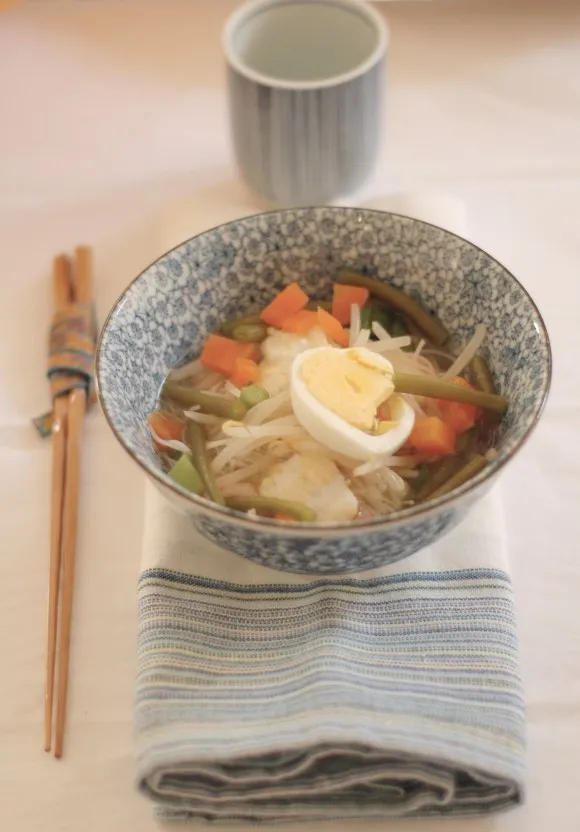
From the simplicity and balanced elegance of Japanese sushi to the subtle boldness of Sri Lankan curries, the 110 dishes in this cookbook show the huge variety and versatility of flavour from all over Asia. Packed with vegetables, fresh fish and nutritious herbs and spices, all the recipes are light, sumptuous and practical.
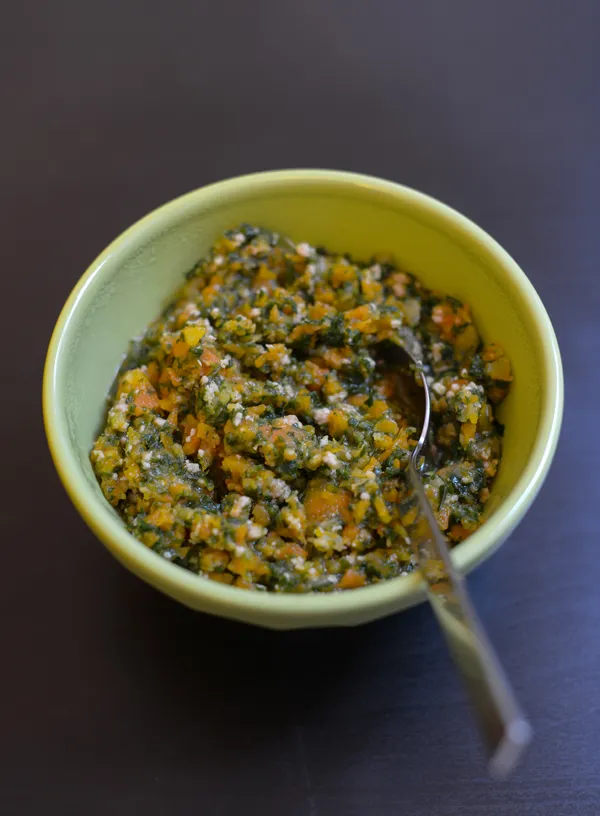
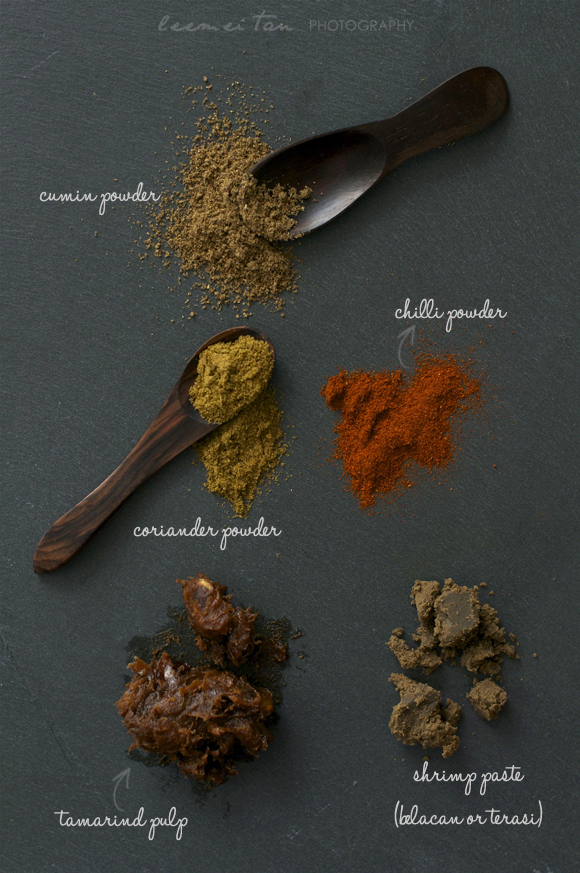
Written by the blogger behind My Cooking Hut, Leemei Tan-Boisgillot, who has travelled and lived in many different places across Asia, this is the new and updated edition of the award-winning Lemongrass and Ginger, featuring brand new recipes that celebrate commonly available ingredients and street food favourites. Leemei also provides a collection of essential tips and tricks, including how to cook any rice perfectly every time, and short recipes for over 20 different spice pastes, all taking 10 minutes or less to prepare, which are the key to ensuring an authentic fragrance at the heart of every recipe you make.